Connect Your WordPress Site
Queantic helps you cut wasted ad spend and optimize performance with instant behavioral insights — no clutter, no fluff. If your business(s) runs on WordPress, you're only a few steps away from seeing what actually drives your traffic.
Step 1: Create a Queantic Account
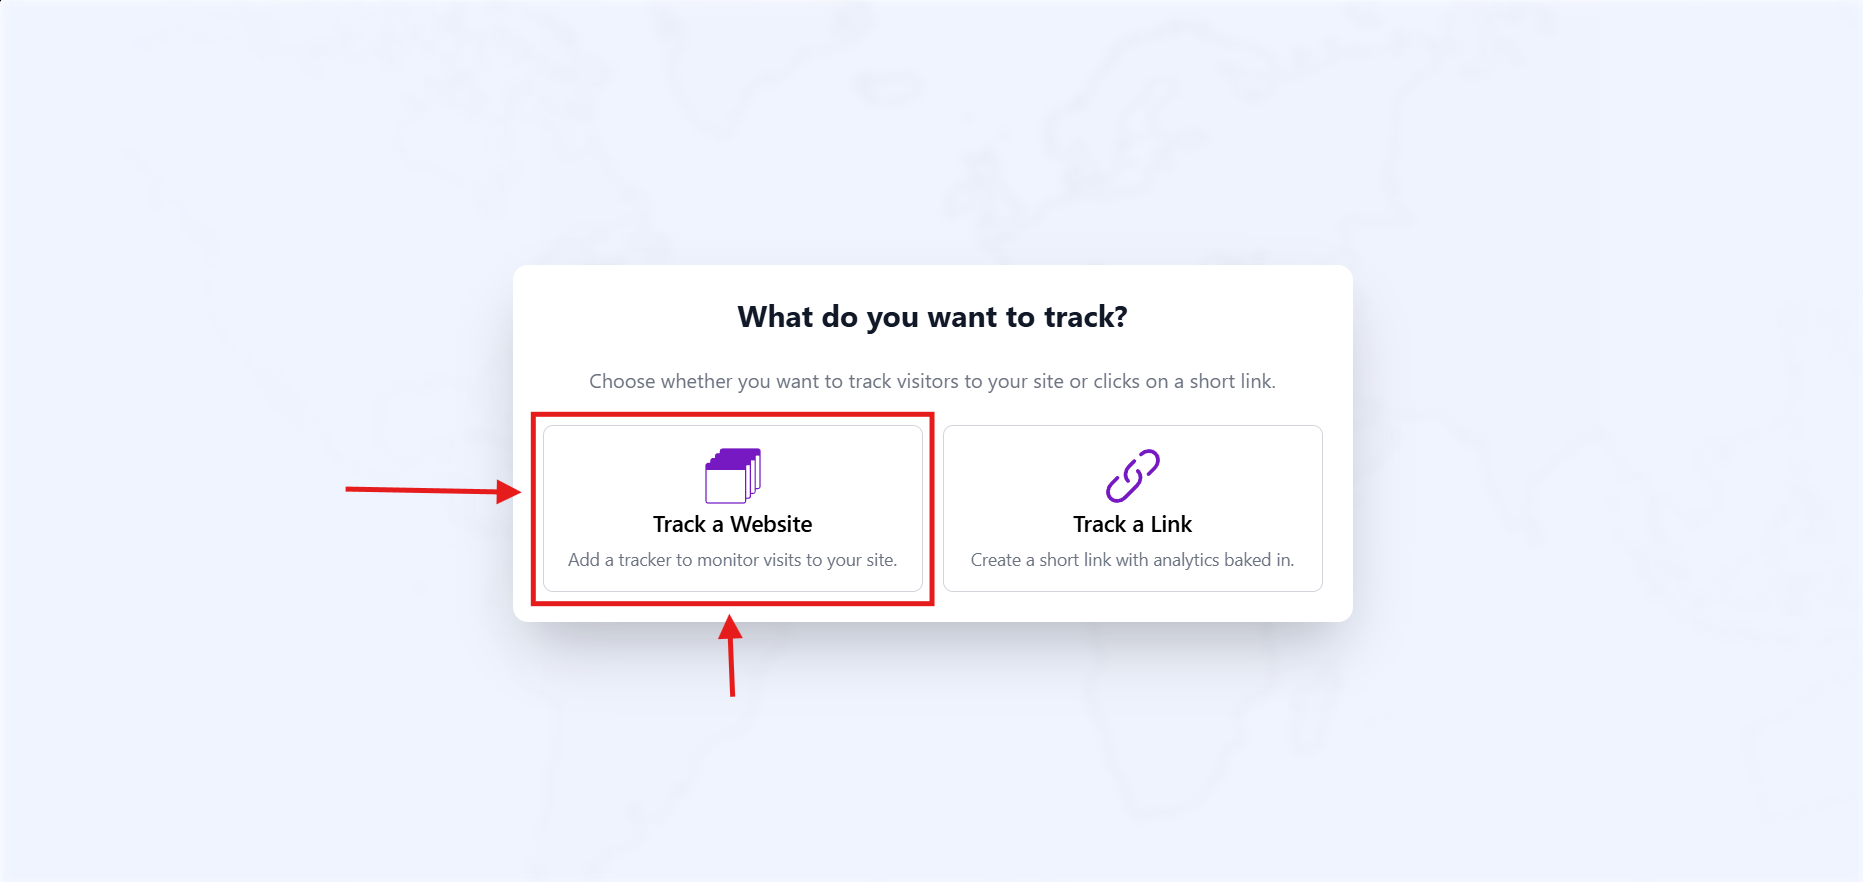
Go to queantic.com/signup and create your account. Once you're in, you’ll be prompted to choose between tracking a website or shortening a link.
Step 2: Create a Website Tracker
Choose “Track a Website” when prompted.
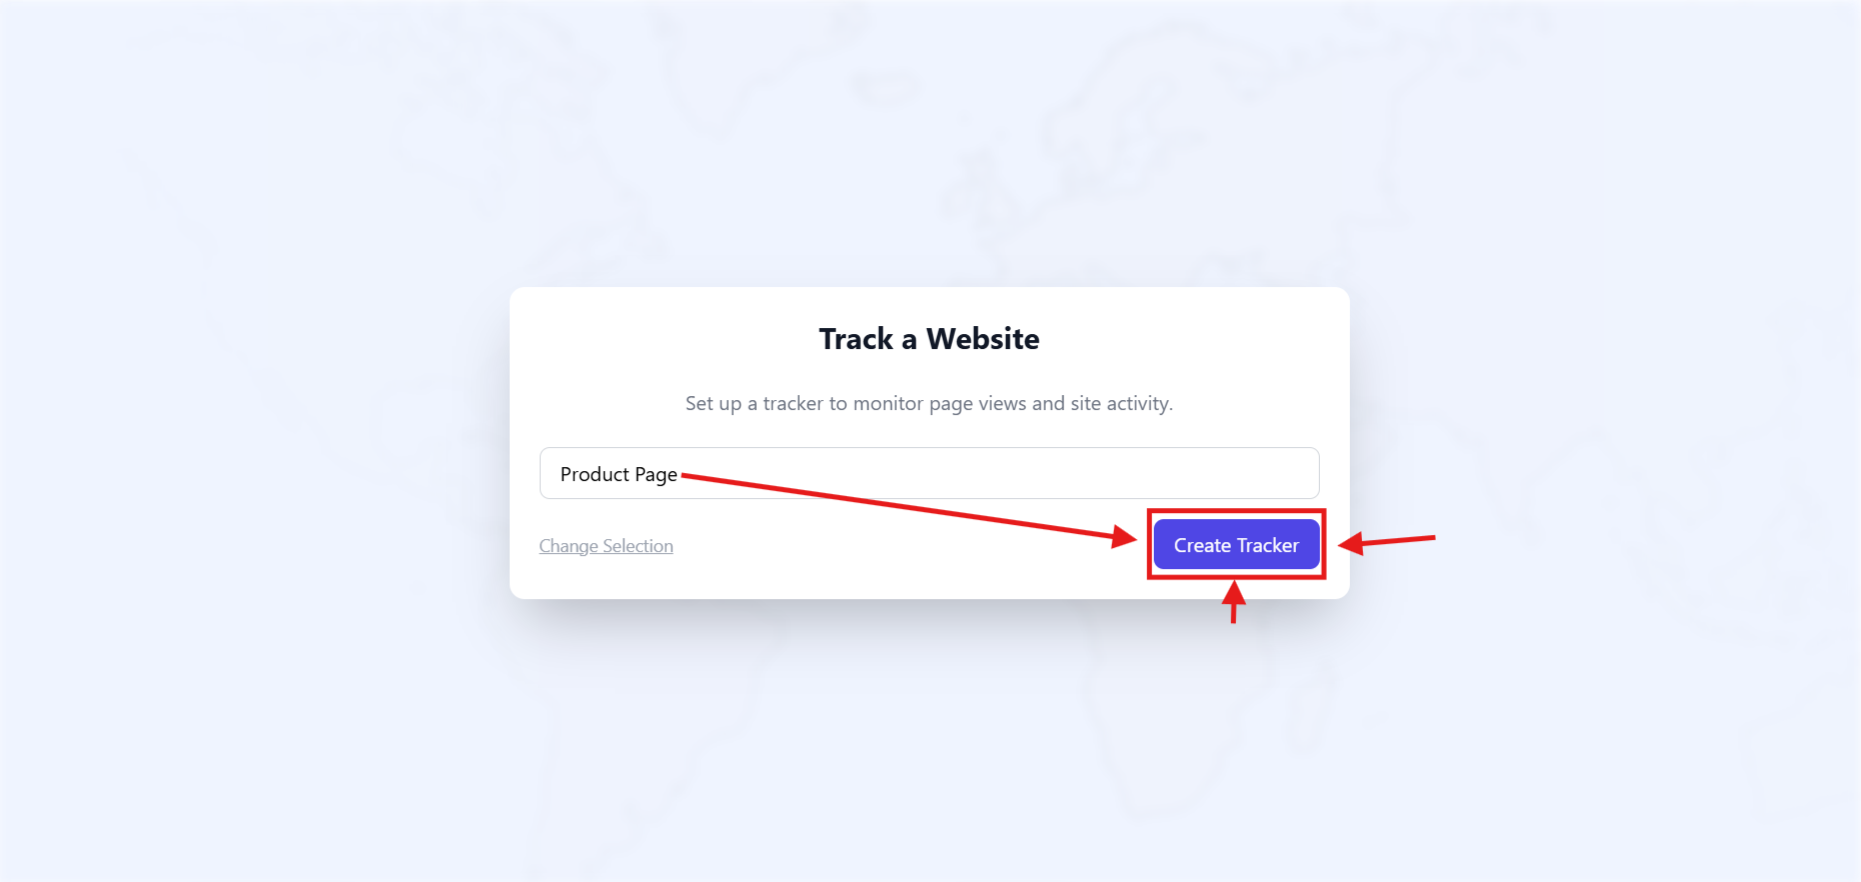
Give your tracker a clear name (e.g. mainstore.com or WooStore Tracker) and click Create Tracker.
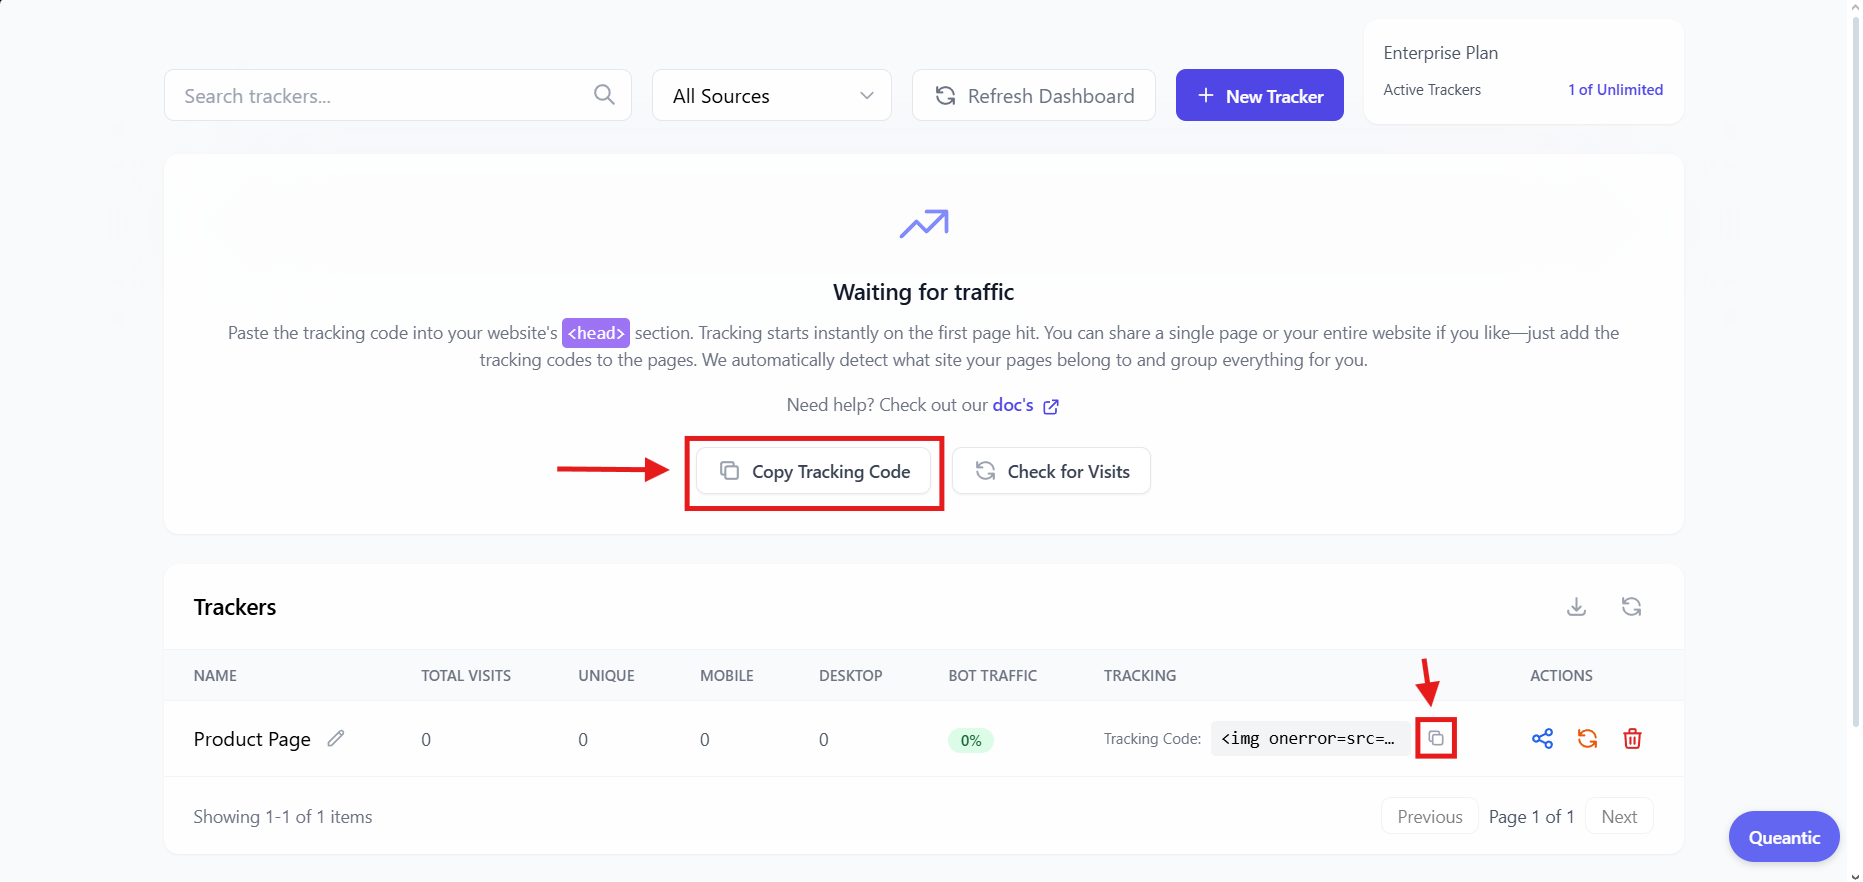
You’ll be taken to your new analytics dashboard. It’ll be empty for now — find your unique tracker code and copy this code.
Step 3: Install the WordPress Plugin
-
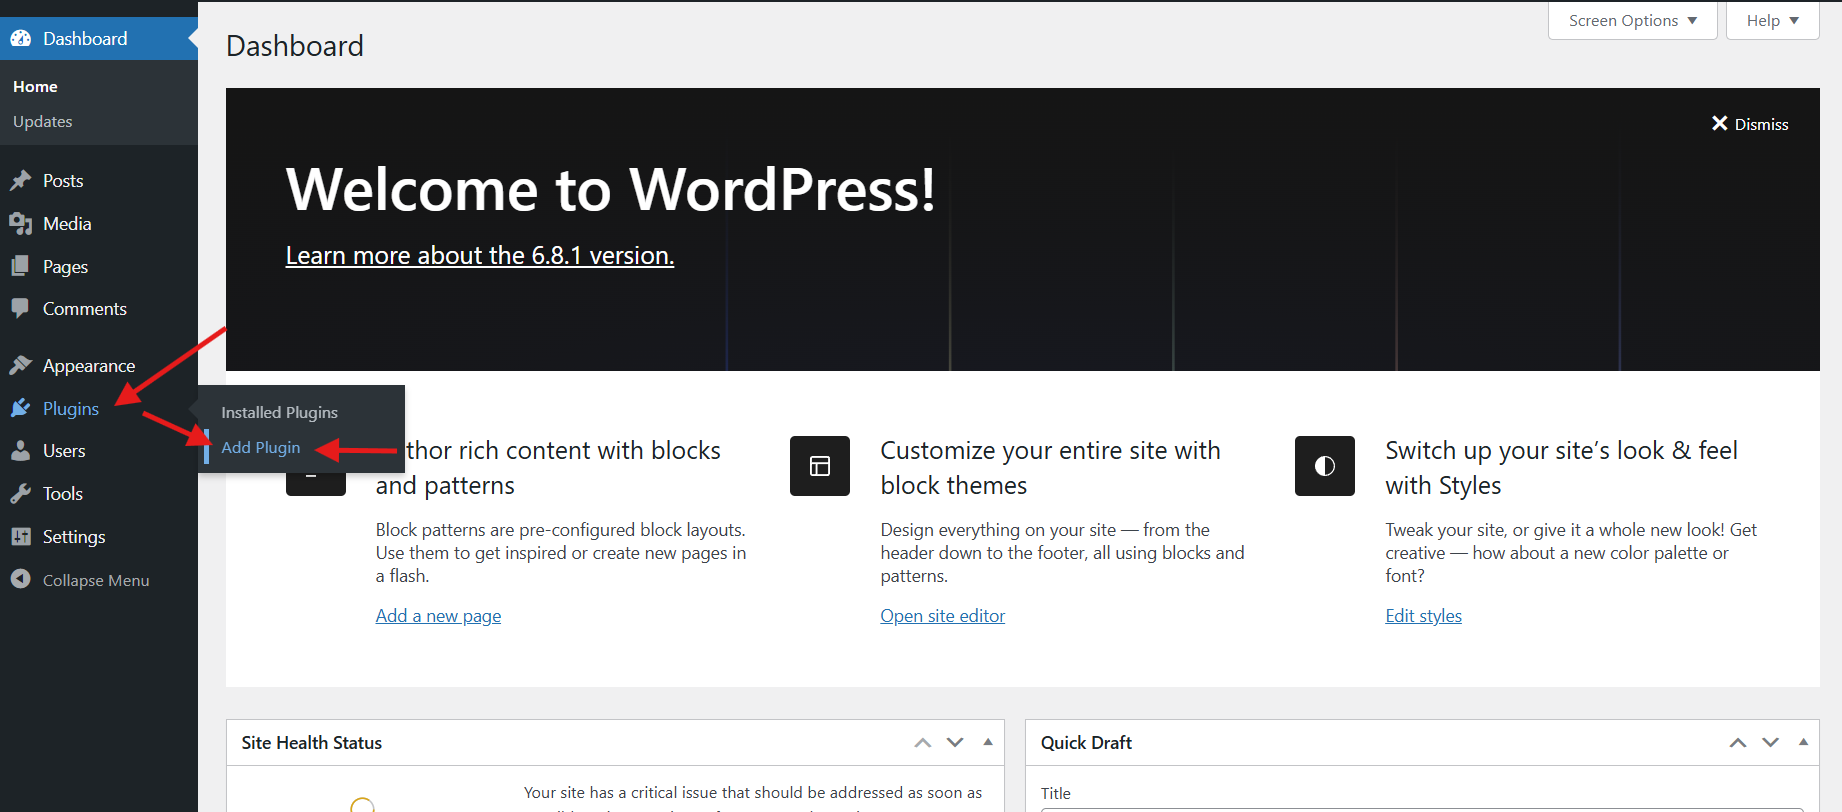
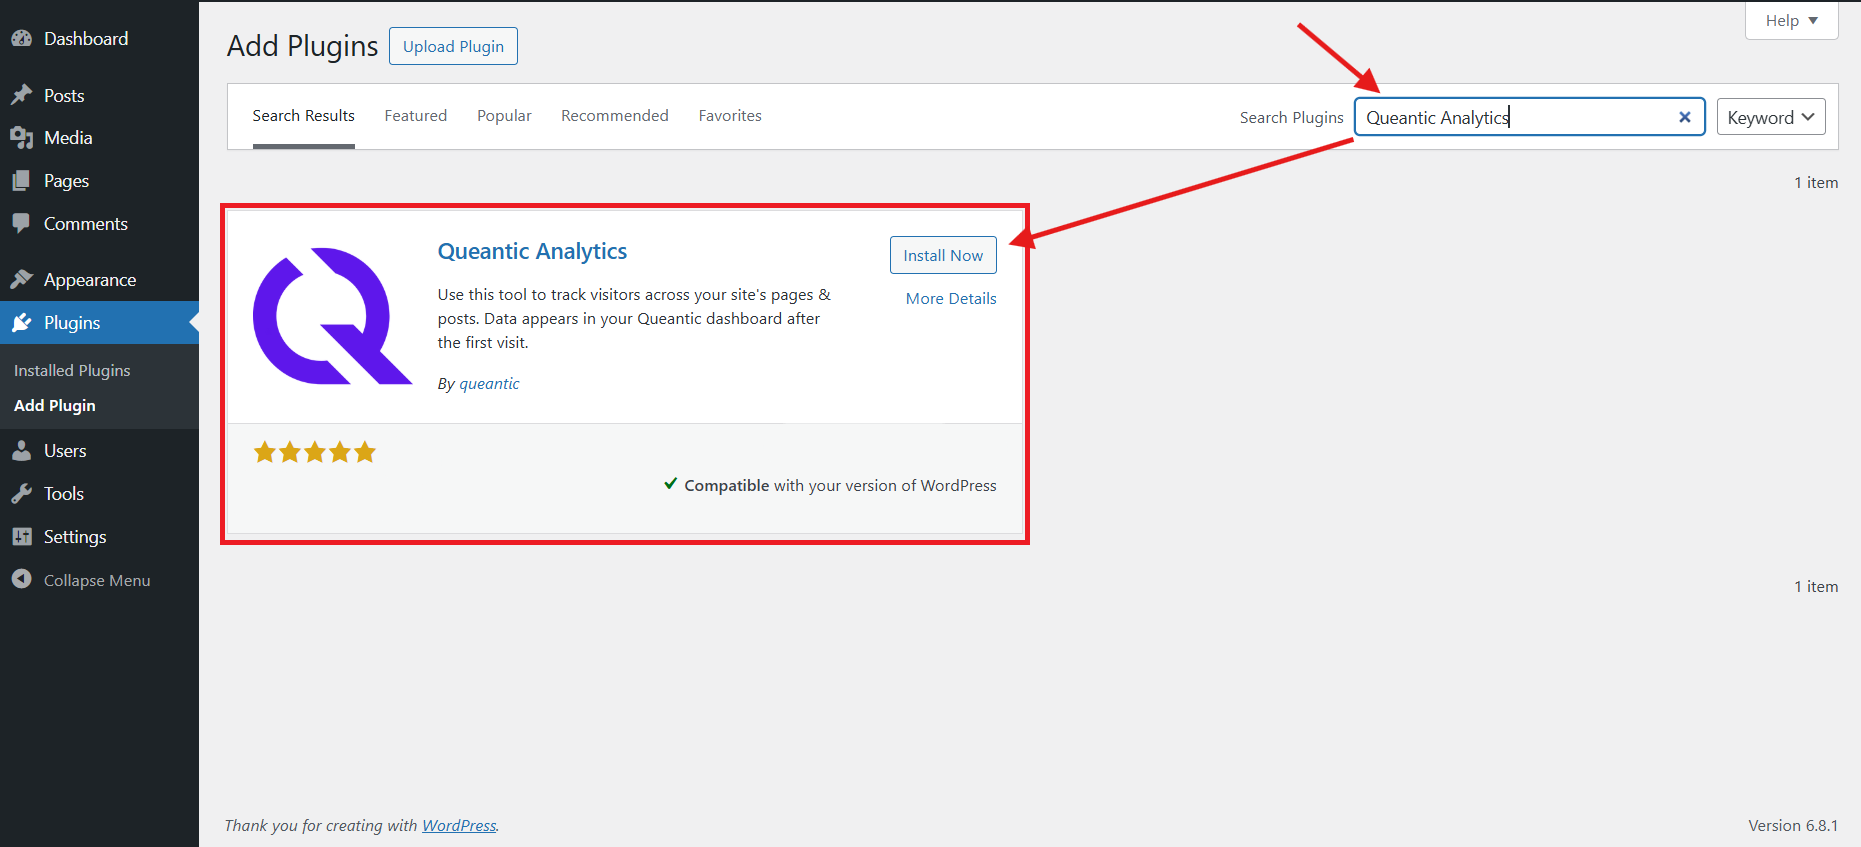
In your WordPress admin, go to Plugins → Add New.
-
Search for Queantic Analytics, then click Install Now.
-
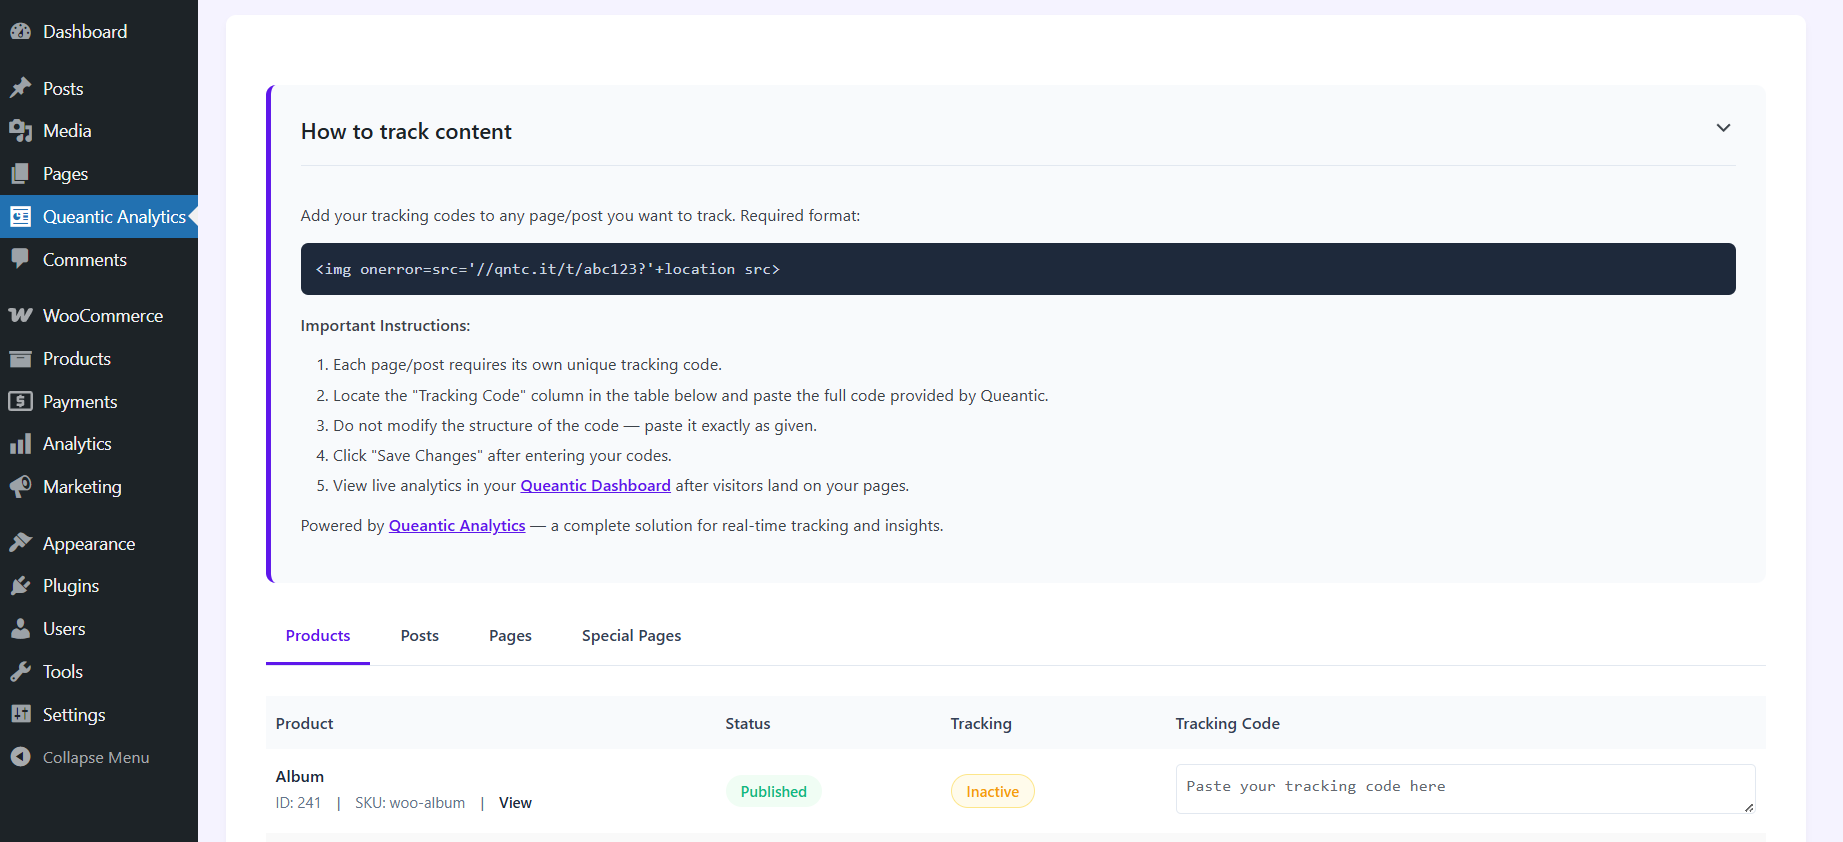
After installation, click Activate. And you will be redirected to the integration tool.
-
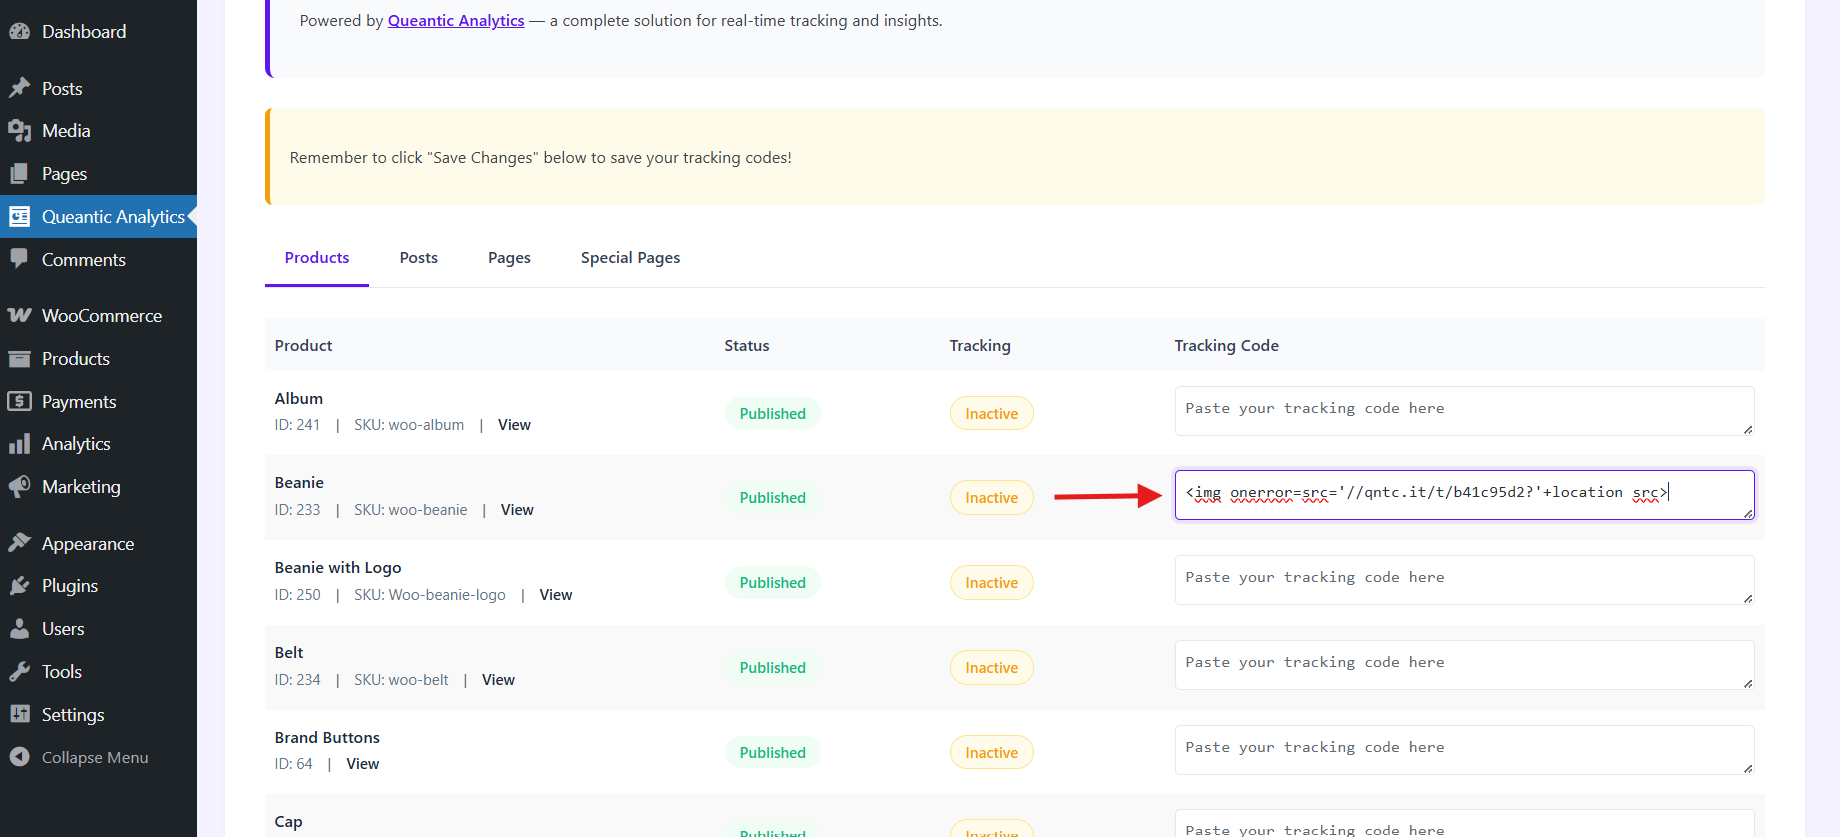
Paste the tracking code you copied earlier in the "Tracking Code" column field of the product/post/page you want to track.
-
Navigate down, and click Save Changes.
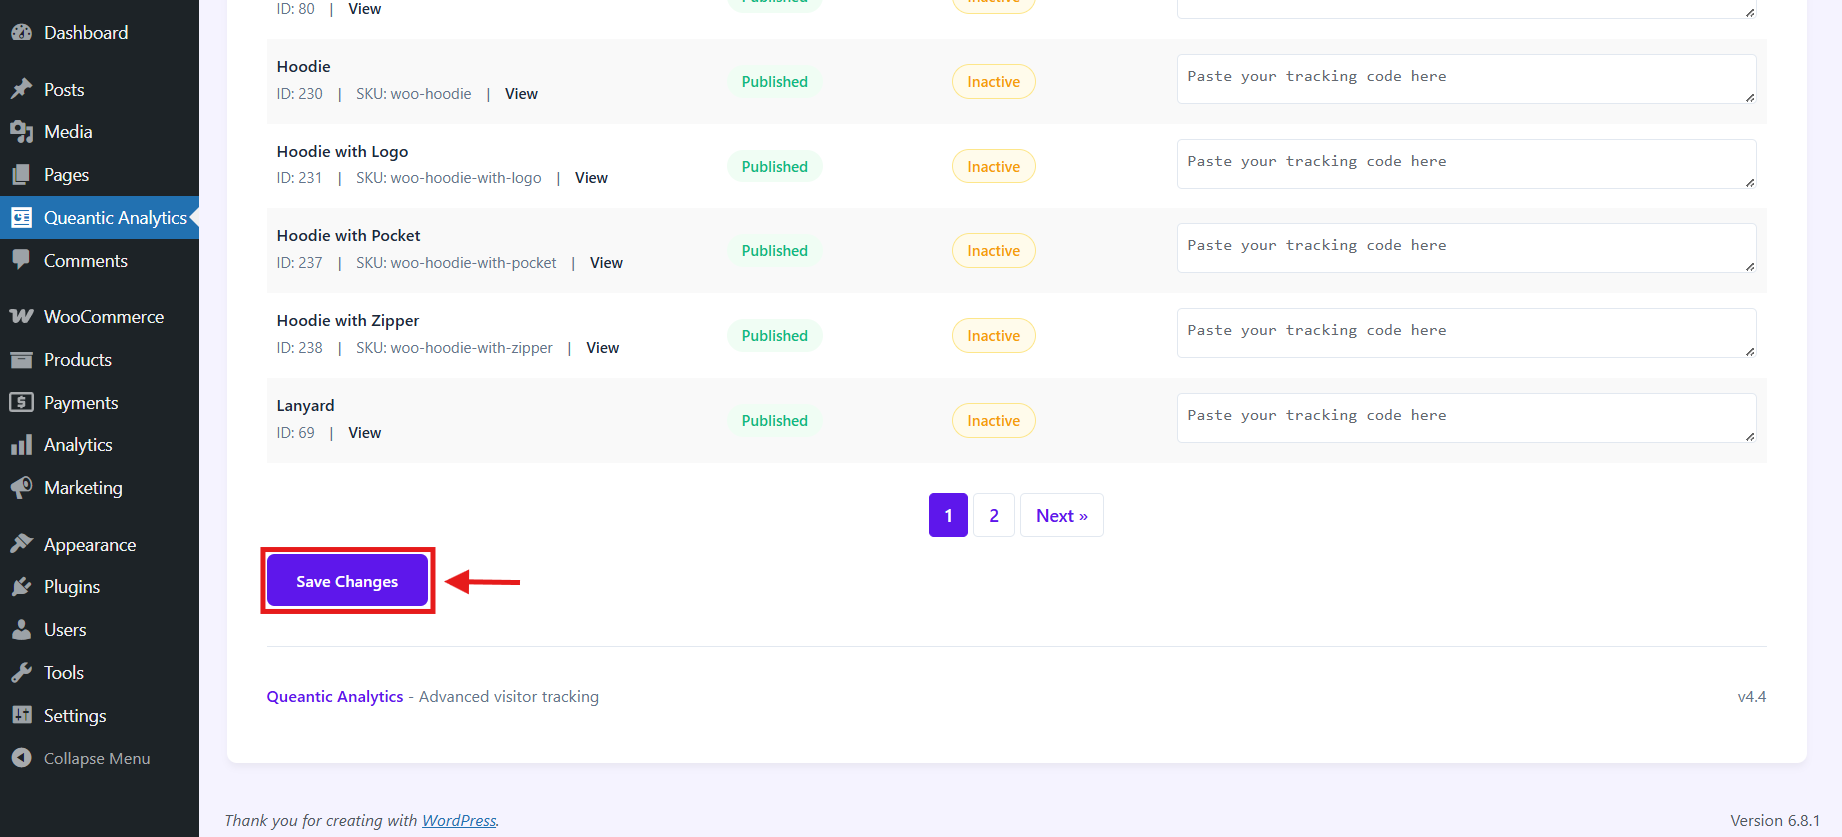
Important: Every product, page, and post on your site must have its own unique tracking code generated by Queantic. Without it, analytics for that item won’t be tracked.
That’s it. Queantic is now live on your store and will begin collecting analytics data as customers interact with your site.
Next Steps
Head back to your Queantic dashboard to watch data roll in. You’ll start seeing real-time traffic, page-level engagement, and smart recommendations designed to help you cut ad waste and boost revenue.
Need Help?
Have questions or want to track custom events? Reach out to us anytime at team@qntc.it.